Getting started
Installation and First Use
Reference the NuGet package in your test project:
dotnet add package MiniMock
- Specify which interface to mock by using the
[Mock<IMyRepository>]attribute before your test or test class: - Create a new instance of the mock using the
Mock.IMyRepository()factory method. - Configure the mock using the
configparameter of the factory method. - Specify how the relevant members should behave using the members name and specify the behavior using the parameters.
- Use the mock in your test as you see fit.
As code:
[Fact]
[Mock<IMyRepository>] // Specify which interface to mock
public void MyTest() {
    var mockRepo = Mock.IMyRepository(// Create a new instance of the mock using the mock factory
        config => config // Configure the mock using the config parameter
            .CreateCustomerAsync(return: Guid.NewGuid()) // Specify how the relevant members should behave
        );
    var sut = new CustomerMaintenance(mockRepo); // Use the mock in your test as you see fit

    sut.Create(customerDTO, cancellationToken);
}
Quality of Life
MiniMock is extremely strict but fair, requiring you to specify all features you want to mock but giving you fair warnings if you don’t. This is by design to make sure you are aware of what you are mocking and not introduce unexpected behaviour.

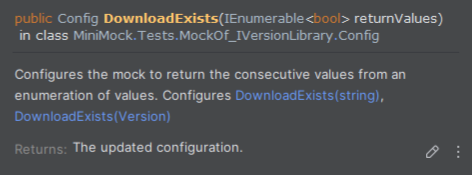
All mockable members are available through a fluent interface with IntelliSense, type safety, and documentation.

All code required to run MiniMock is source generated within your test project and has no runtime dependencies. You can inspect, step into, and debug the generated code which also allows for security and vulnerability scanning of the generated code.